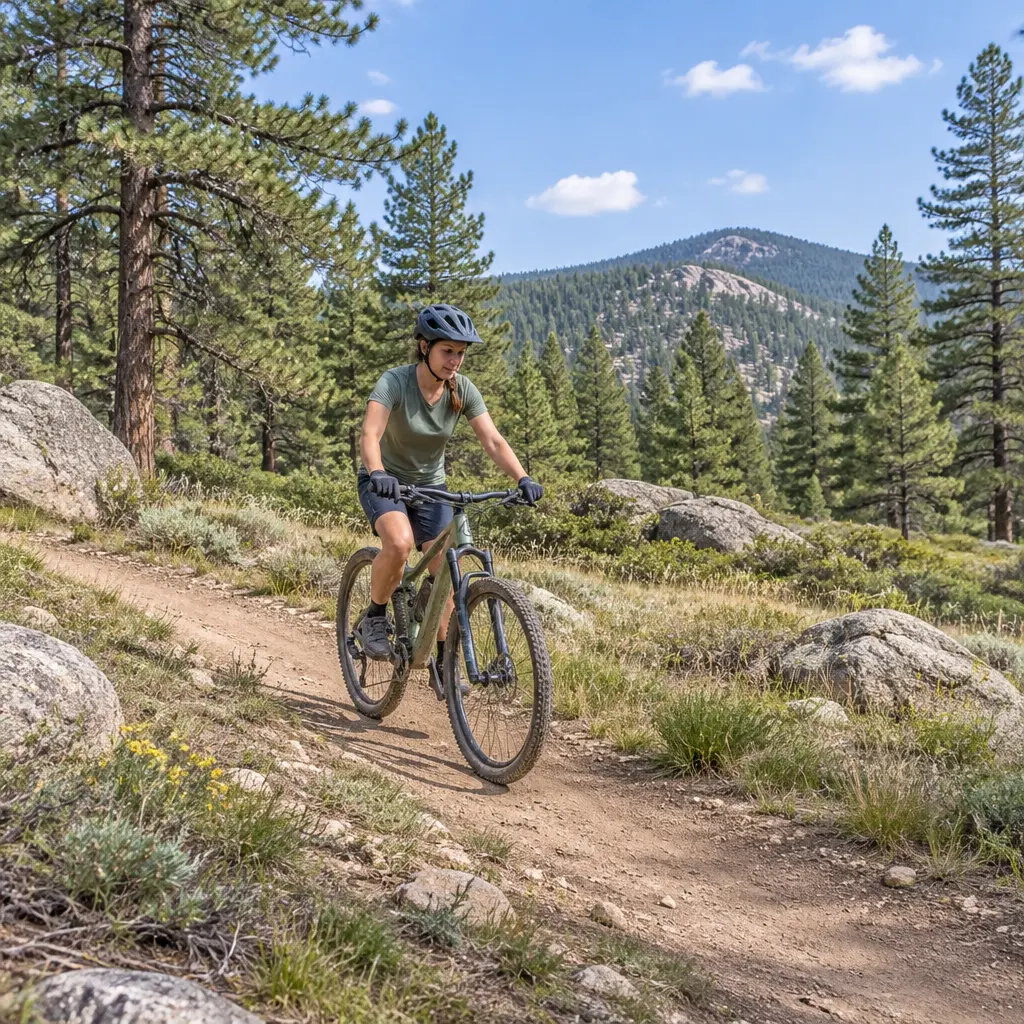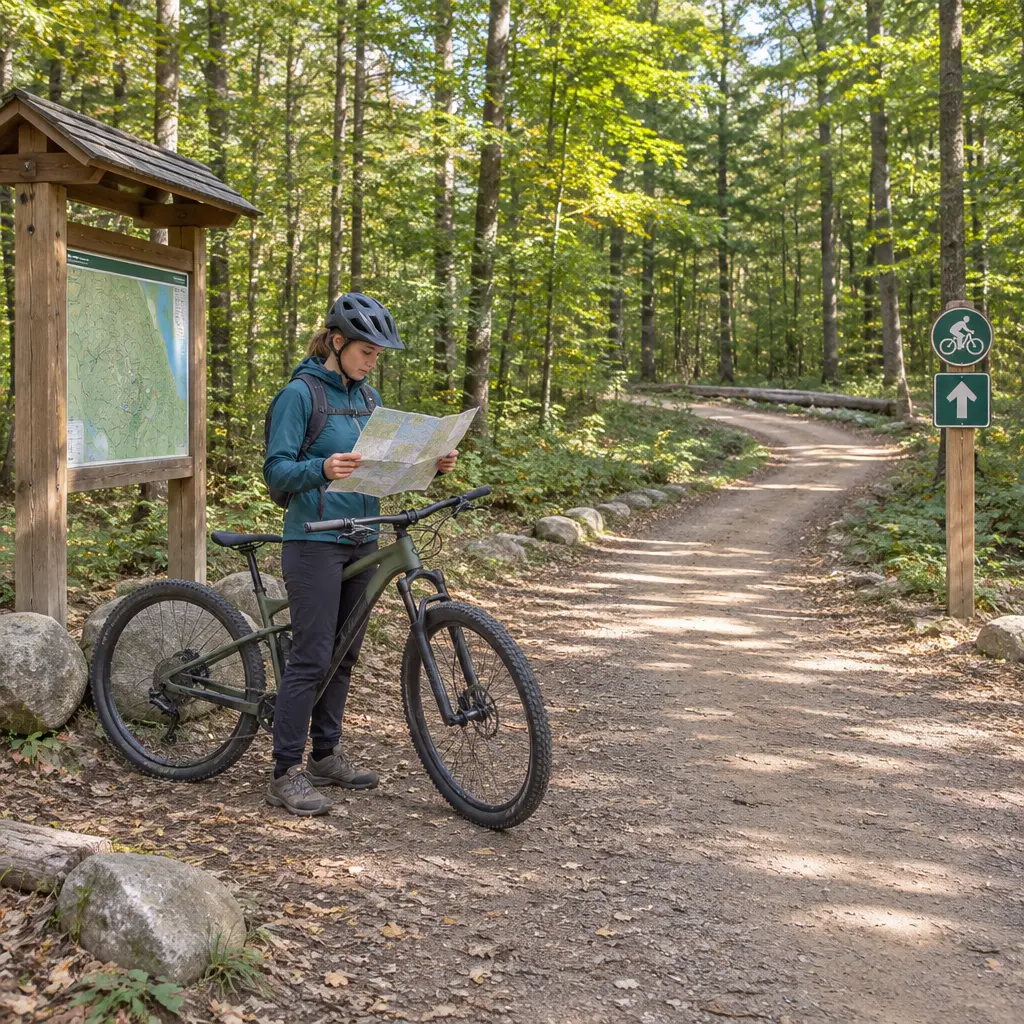
A first mountain bike trail ride is a planned off-road outing on a route suited to your skills, fitness, and equipment. A good first ride is not about covering the most distance: it is about choosing an appropriate trail, preparing your bike and safety gear, riding within your abilities, and leaving the trail in good condition. The International Mountain Bicycling Association (IMBA) classifies trails by difficulty, while the National Park Service advises riders to check local conditions and regulations. These basics matter because trail conditions, technical features, and remoteness can turn a short ride into a demanding one; this guide covers planning, equipment, trail etiquette, and what to do if conditions change.
Plan a First Mountain Bike Trail Ride Around Skill and Route Difficulty
A trail ride plan is the set of decisions made before departure about the route, timing, equipment, and response to foreseeable problems. IMBA’s Trail Difficulty Rating System describes trails using a progression from easiest to most difficult, with ratings based on features such as trail width, surface, gradient, and obstacles. Ratings are useful guides, not guarantees: local systems and conditions vary, and a trail may feel harder when wet, loose, crowded, or unfamiliar.
Choose a beginner-appropriate route
For a first outing, look for a clearly marked, relatively short route with a beginner or easiest rating, a manageable elevation profile, and an easy way to turn back. Read the trail description and recent condition updates, and check whether the route is open to bicycles. National Park Service guidance emphasizes checking park-specific rules because bikes are permitted only where designated. A familiar multi-use path or beginner loop can be a better first choice than a remote trail, even if the latter appears shorter on a map.
Distance alone does not measure difficulty. A short route with steep climbs, exposed terrain, or technical obstacles can be more challenging than a longer, smooth loop. Use the trail operator’s rating and map, and ask a local bike shop or trail organization about current conditions when descriptions are unclear.
Check time, weather, and access
Plan to finish well before sunset and allow extra time for stops, wrong turns, and slower-than-expected progress. Check the forecast and trail status on the day of the ride. Rain can make some trails slippery or vulnerable to damage; when local managers request that riders stay off muddy trails, follow that advice. Confirm parking, opening hours, permitted direction of travel, and any seasonal closures.
Before leaving, tell someone where you are riding and when you expect to return. For a first trail ride, going with an experienced companion is a practical way to learn route-finding and trail etiquette. If riding solo, choose a well-used route with reliable phone coverage where possible, but do not assume a mobile signal will be available.
Prepare Bike, Equipment, and Rider for a First Mountain Bike Trail Ride
Preparation means ensuring that the bicycle is in working order and that the rider has basic protective equipment, water, and tools for a minor problem. The U.S. Consumer Product Safety Commission recommends wearing a properly fitted bicycle helmet; a helmet can reduce the risk of head injury, but it does not make crashes harmless. A pre-ride inspection and a modest repair kit help address common issues before they interrupt the ride.
Inspect the bike before setting out
A quick inspection checks the tires, brakes, wheels, chain, and controls. Ensure tires are inflated within the range printed on the tire or recommended by the manufacturer, test both brakes, and make sure wheels are secure. Shift through the gears briefly and look for a loose or damaged chain. If a brake feels weak, a tire is damaged, or a component seems loose, have the bike checked before riding.
A mountain bike should fit the rider and be suitable for the route. Beginners do not need specialized upgrades to try an easy trail, but functioning brakes and tires with appropriate tread are essential. A shop mechanic can help with fit and basic setup, including saddle height and tire pressure.
Pack safety essentials, water, and repair items
Wear a correctly fitted helmet and closed-toe shoes with a secure grip. Gloves and eye protection can improve comfort and help protect hands and eyes from branches, dust, and debris. Choose clothing for the weather, and carry more insulation or rain protection if conditions may change.
Carry water and a snack appropriate to the ride’s length and effort, along with a phone, identification, and a small first-aid kit. A spare tube or tubeless-plug kit, tire levers, a pump or inflator, and a multitool can help with common mechanical problems. The exact kit depends on the bike and the route; learn how to use it before relying on it outdoors.
Set a realistic first-ride goal
A realistic goal is to complete a comfortable loop while practicing control, not to keep pace with more experienced riders. Start at an easy effort, pause when needed, and turn around if fatigue, weather, or trail conditions make continuing unsafe. Fitness and confidence vary widely, so there is no universally appropriate first-ride distance or speed.
Ride a First Mountain Bike Trail with Control and Courtesy
Trail riding combines bicycle control with awareness of other users and the terrain. IMBA’s Rules of the Trail emphasize yielding appropriately, controlling speed, and avoiding trail damage. Because routes may be shared with hikers, equestrians, or other cyclists, predictable behavior helps reduce conflict and supports continued access.
Practice basic handling on easy terrain
Before tackling a descent or obstacle, practice starting, stopping, shifting, and braking on flat, open ground. Keep a relaxed grip, look ahead toward the route you intend to take, and use both brakes smoothly rather than grabbing suddenly. On unfamiliar terrain, slow down before a turn or obstacle; braking hard while turning on loose ground can reduce control.
Walk a feature if you are unsure. Dismounting is a sensible decision, not a failure, and walking can be safer than attempting a drop, steep section, or slippery crossing without the necessary skill. If you stop, move off the main riding line where it is safe to do so.
Yield, communicate, and respect trail rules
Follow posted signs and local right-of-way rules, which can differ by trail. On shared routes, announce your approach calmly and early, pass only when there is room, and slow down around people and animals. IMBA advises cyclists to yield to hikers and horses and to make their presence known well in advance; always follow the specific trail’s posted guidance.
Stay on the designated trail rather than cutting switchbacks or riding around obstacles. Avoid skidding because it can damage the trail surface. If the trail is muddy enough that tires leave deep ruts, turn back or choose another route when local guidance recommends keeping off it.
Respond calmly to a problem
If you fall, move out of the way if possible and assess yourself before continuing. Stop riding if you have a significant injury, feel disoriented, or suspect a head or neck injury; seek emergency help when needed. For a mechanical issue, use the repair tools only if you can do so safely, and contact your companion or emergency services if you cannot continue and the situation requires assistance.
If you become lost, stop rather than taking an unfamiliar shortcut. Check your map or navigation tool, retrace a known route only if it is safe, and contact help when necessary. Conserving phone battery and carrying a route map or downloaded navigation information can be useful where coverage is unreliable.
Use a Simple First-Ride Example to Put the Plan into Practice
Consider a beginner choosing a signed, short loop at a local trail center. They check the center’s current status and bicycle rules, select the easiest rated loop, review the map, and tell a friend their plan. Before riding, they test the brakes and tires, put on a fitted helmet, and pack water, a phone, and a basic repair kit. On the trail, they ride at a conversational pace, yield according to posted signs, walk a feature that feels beyond their ability, and finish with time to spare.
This example illustrates the key principle: match the route to current ability and make conservative choices when conditions differ from expectations. The best first ride may be short, but it builds useful experience for future outings.
A useful visual for planning is a simple checklist or route card showing the trail rating, distance, expected return time, water, and essential equipment. A route map can also help riders identify intersections and possible exit points before they set off.
Conclusion: Make the First Mountain Bike Trail Ride a Safe Starting Point
Planning a first mountain bike trail ride means choosing a suitable route, checking access and conditions, inspecting the bike, carrying essential supplies, and riding at a controlled pace. IMBA’s difficulty ratings and trail etiquette guidance, together with local land-manager rules and Consumer Product Safety Commission helmet advice, provide useful starting points. A short, easy ride with room to turn back is often the most effective way to build confidence.
Before your next ride, check the trail’s official status, review its rating, and prepare a simple route and equipment checklist. Respecting other trail users and protecting the trail helps keep riding areas enjoyable and accessible for everyone.
Sources: International Mountain Bicycling Association, Trail Difficulty Rating System, https://www.imba.com/resource/trail-difficulty-rating-system; International Mountain Bicycling Association, Rules of the Trail, https://www.imba.com/resource/rules-of-the-trail; National Park Service, Bicycling, https://www.nps.gov/subjects/biking/index.htm; U.S. Consumer Product Safety Commission, Bicycle Safety, https://www.cpsc.gov/Safety-Education/Safety-Education-Centers/Bicycles