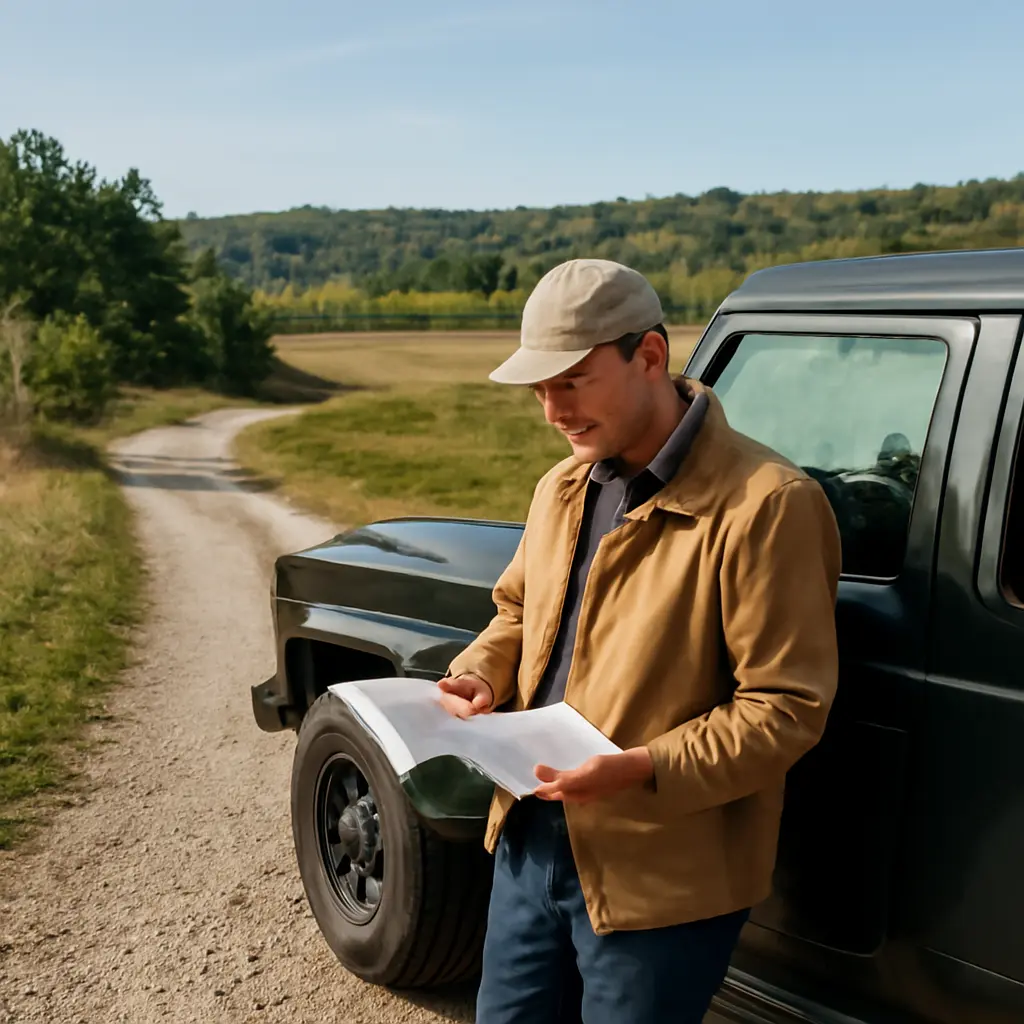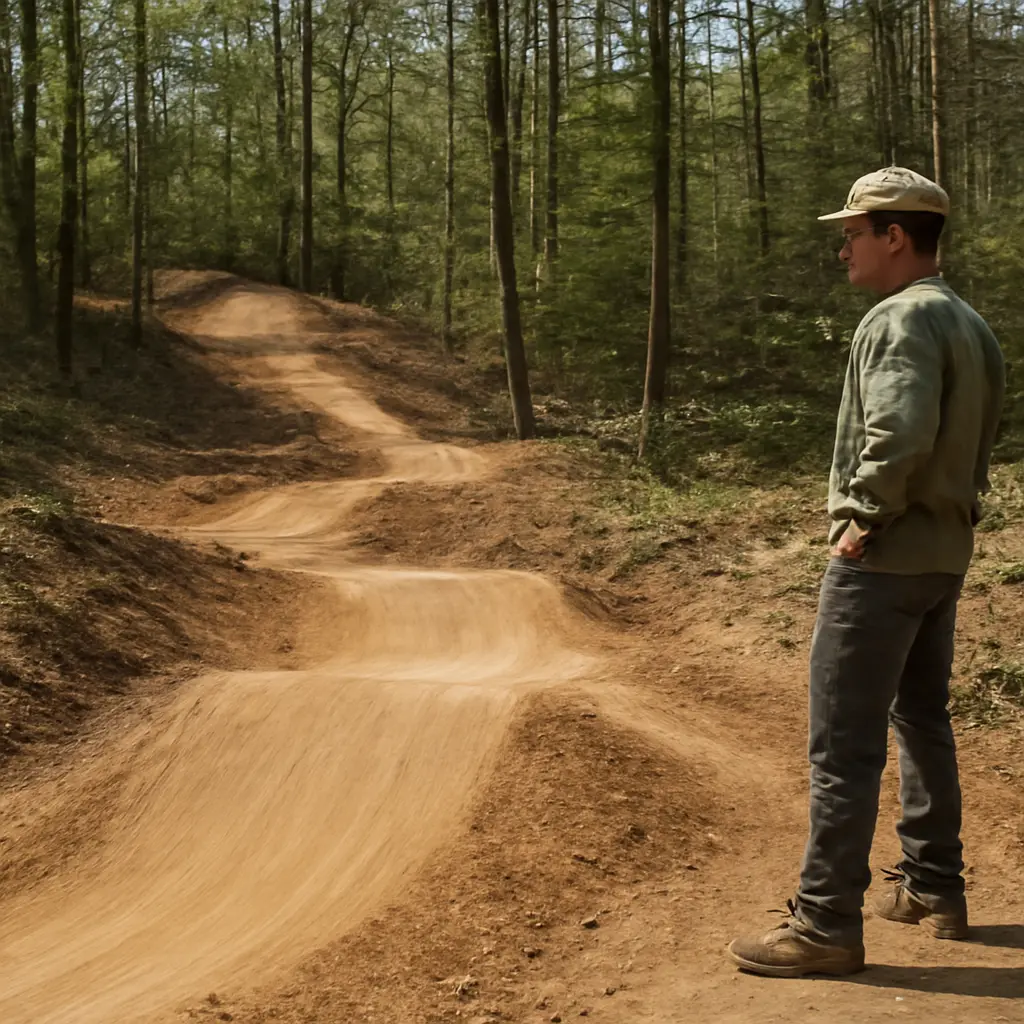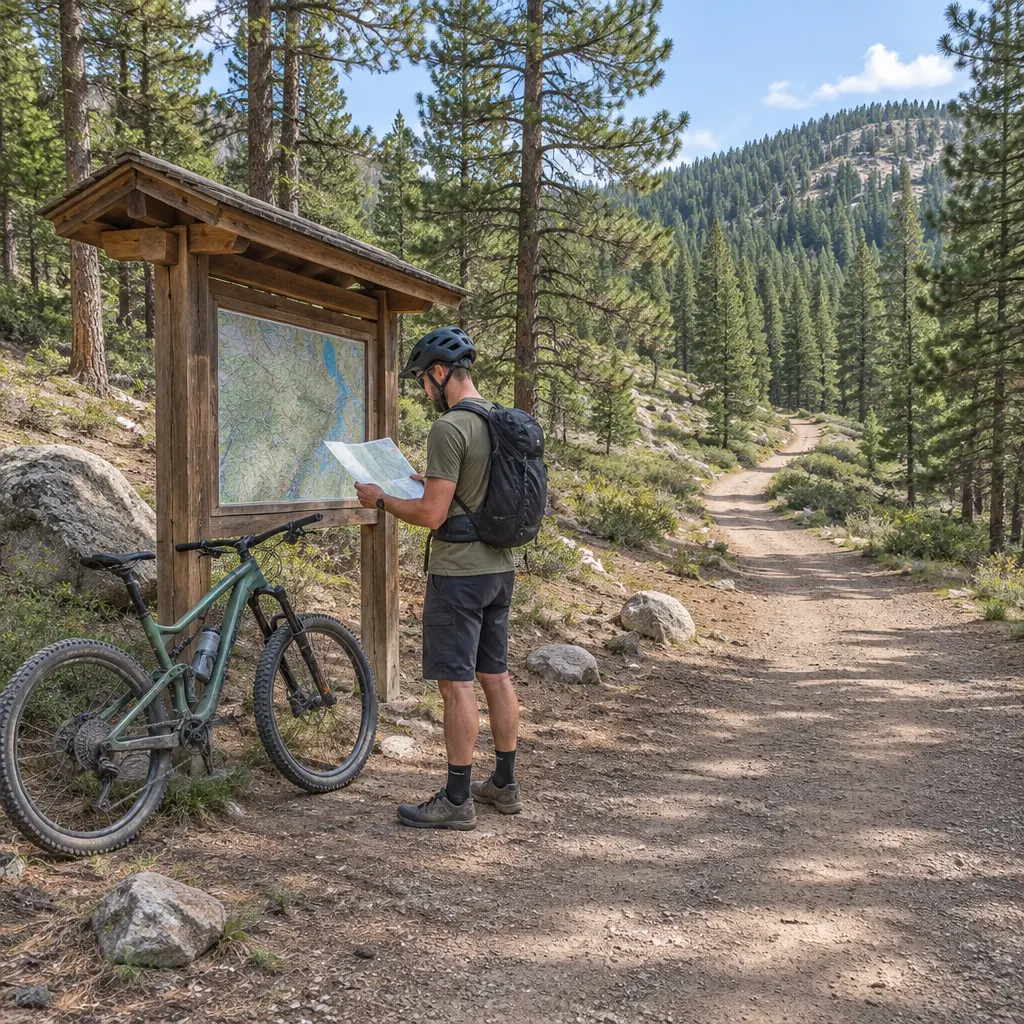
Reading a trail before riding means using maps, signs, terrain, weather, and current local information to judge whether a route suits your abilities and conditions. The International Mountain Bicycling Association (IMBA) advises riders to match trails to their skill level, understand trail difficulty ratings, and plan for changing conditions. A few minutes of preparation can help you avoid a route that is too demanding, protect other trail users, and make a safer decision about when to turn back. This guide explains how to interpret ratings and maps, assess the ground and weather, check access and etiquette, and make a practical go-or-no-go plan.
Trail reading combines difficulty ratings, route information, and on-the-ground conditions
Trail reading is the process of gathering and interpreting information about a route before riding it, then comparing that information with your skills, equipment, and the conditions you encounter. IMBA describes mountain-bike trail difficulty ratings as a way to communicate the technical challenge riders can expect; ratings are guidance, not a guarantee that every feature will feel the same to every rider.
The task has several connected parts: determine whether the trail is open and permitted for bikes, understand its length and elevation profile, interpret its rating and surface, and account for weather, hazards, and other users. A route’s posted grade describes expected difficulty, while a map and current conditions help explain what that grade means on a particular day.
Difficulty ratings describe technical challenge, not total risk
IMBA’s Trail Difficulty Rating System uses color-coded categories adapted from the International Trail Marking System: green circle for easiest, blue square for more difficult, black diamond for very difficult, and double black diamond for extremely difficult. Some systems also use a green-and-blue intermediate category. These labels generally reflect features such as trail width, surface, slope, obstacles, and exposure.
A rating does not tell you whether a trail is physically easy, well maintained, free of hazards, or appropriate for your particular bike. A long, smooth route may be technically easy but strenuous; a short route may include steep drops or narrow passages. Read the local rating key because signs and standards can vary between land managers and regions.
Maps and route descriptions reveal distance, climbing, and options
A trail map helps you understand where the route begins and ends, how it connects to other trails, and where exits or shorter alternatives may be available. Check total distance, elevation gain, direction of travel, and whether a route is a loop or an out-and-back. A contour map or elevation profile can reveal sustained climbs and descents that a simple distance figure hides.
Treat digital maps as useful planning tools rather than unquestionable authorities. The U.S. Forest Service cautions visitors to plan ahead and prepare for outdoor travel; printed or downloaded maps can be important when mobile service is unavailable. Compare the map with current agency notices and trailhead signs, which may identify closures or reroutes not yet reflected in an app.
Trail conditions change the meaning of a route’s rating
Trail conditions are the present physical and environmental circumstances that affect how a route rides, including moisture, loose material, vegetation, visibility, and temperature. The National Park Service and land-management agencies regularly issue alerts because weather, maintenance, fires, flooding, and other events can change access or safety. A familiar trail can therefore require a different decision after rain, during heat, or following maintenance work.
Surface, drainage, and recent weather affect traction
Inspect descriptions and recent local reports for mud, sand, loose rock, roots, or exposed hardpack. Wet soil can reduce tire grip and increase braking distance; riding muddy trails can also damage the tread and widen ruts. IMBA’s guidance on sustainable riding encourages cyclists to avoid trails when conditions are too wet and to use established routes rather than creating new lines around puddles.
Rain does not affect every trail equally. Soil type, slope, shade, drainage, and recent rainfall all matter, so a trail may be firm in one section and slick in another. If conditions are uncertain, ask a local land manager or bike shop, choose a route with easier exits, and be prepared to turn around.
Weather, daylight, and hazards belong in the route assessment
Check the forecast for the whole period you expect to be out, not just the temperature at departure. Heat, cold, wind, thunderstorms, smoke, and rapidly changing mountain weather can affect effort, visibility, and safe travel. The National Weather Service advises people outdoors to recognize thunderstorm risks and seek substantial shelter when thunder is heard; a bicycle or isolated tree is not safe lightning shelter.
Also consider daylight, water availability, wildlife notices, and emergency access. The National Park Service’s “Ten Essentials” guidance highlights preparation items such as navigation, sun protection, insulation, illumination, first aid, and extra food and water. Carry what is appropriate for the route, and tell someone your plan when riding somewhere remote.
Trail access and shared-use rules determine where and how to ride
Trail access is the permission and practical ability to use a route under its posted rules. Not every trail permits bicycles, and some routes restrict bikes by season, direction, or trail type. Check the land manager’s official page and the signs at the trailhead before setting out; closures may protect habitat, respond to damage, or address active hazards.
Trail etiquette helps prevent conflicts
On shared trails, riders should slow down around people and animals, communicate clearly, and yield according to local signs and rules. IMBA’s “Rules of the Trail” emphasize yielding appropriately, controlling speed, and being considerate. Specific right-of-way conventions can differ by location, so follow posted guidance rather than assuming one universal rule.
Before riding, note whether the route is shared with hikers, equestrians, or other cyclists. Blind corners, narrow bridges, and steep descents call for extra caution. If you meet a horse, stop well before it, speak calmly, and follow the handler’s directions; sudden movement can startle an animal.
Conservation rules are part of responsible route choice
Staying on designated trails reduces damage to vegetation and soil, while respecting closures helps protect sensitive places and allows repairs. The Leave No Trace Center for Outdoor Ethics recommends traveling on durable surfaces and respecting wildlife. On a bike, that means avoiding shortcuts, riding through established routes rather than around obstacles, and packing out litter.
A closed or muddy trail is not simply an inconvenience: continued use can deepen erosion and create wider, less sustainable tracks. Choosing another open route is often the best way to protect the trail system and preserve access for future riders.
A pre-ride check turns trail information into a decision
A practical pre-ride check compares the route’s demands with the rider’s current ability, equipment, time, and conditions. It is especially useful when riding an unfamiliar trail, traveling with a group of mixed abilities, or planning a route with limited exit points.
Use a simple go-or-adjust checklist
- Confirm the trail is open, bike-legal, and being ridden in the permitted direction.
- Read the local difficulty legend and compare the rating with your experience on similar terrain.
- Check distance, elevation gain, expected riding time, and possible bailout routes.
- Look for current reports about mud, maintenance, fire, flooding, wildlife, or other hazards.
- Review the forecast and daylight window, and carry navigation, water, basic repair supplies, and appropriate safety equipment.
- Agree with your group on a turnaround point and a plan if someone becomes tired or conditions worsen.
For example, a rider considering a black-diamond route after rainfall should not rely on the rating alone. They should check whether the route is open, ask whether the surface is rideable, assess whether their skills match the technical features, and identify an easier alternative. If any of those checks raise concern, selecting the alternative is a sound riding decision, not a failure.
Reassess after the ride begins
A pre-ride assessment is not a promise to finish. Recheck trail conditions as you go: if the surface becomes slick, visibility drops, a group member struggles, or a hazard exceeds your comfort level, stop in a safe place and choose a different route or return. The safest plan is one that can change when the evidence changes.
Conclusion: Read the trail, then choose the ride
Reading a trail before riding it means bringing together difficulty ratings, maps, current conditions, access rules, and shared-use etiquette. Ratings communicate technical challenge but cannot replace judgment; weather and surface conditions can alter traction and risk; and official notices determine whether a route is open and suitable for bikes. Check those details before leaving, carry the essentials for your route, and be willing to choose an easier option or turn back. For further preparation, consult the local land manager, IMBA’s trail resources, and the National Park Service’s outdoor safety guidance before your next ride.
Sources: International Mountain Bicycling Association, Trail Difficulty Rating System, https://www.imba.com/resource/trail-difficulty-rating-system/; International Mountain Bicycling Association, Rules of the Trail, https://www.imba.com/resource/rules-of-the-trail/; International Mountain Bicycling Association, Sustainable Trails, https://www.imba.com/resource/sustainable-trails/; U.S. Forest Service, Know Before You Go, https://www.fs.usda.gov/visit/know-before-you-go; National Park Service, Plan Like a Park Ranger: Ten Essentials, https://www.nps.gov/articles/10essentials.htm; National Park Service, Current Conditions, https://www.nps.gov/aboutus/conditions.htm; National Weather Service, Lightning Safety, https://www.weather.gov/safety/lightning; Leave No Trace Center for Outdoor Ethics, The Seven Principles, https://lnt.org/why/7-principles/