
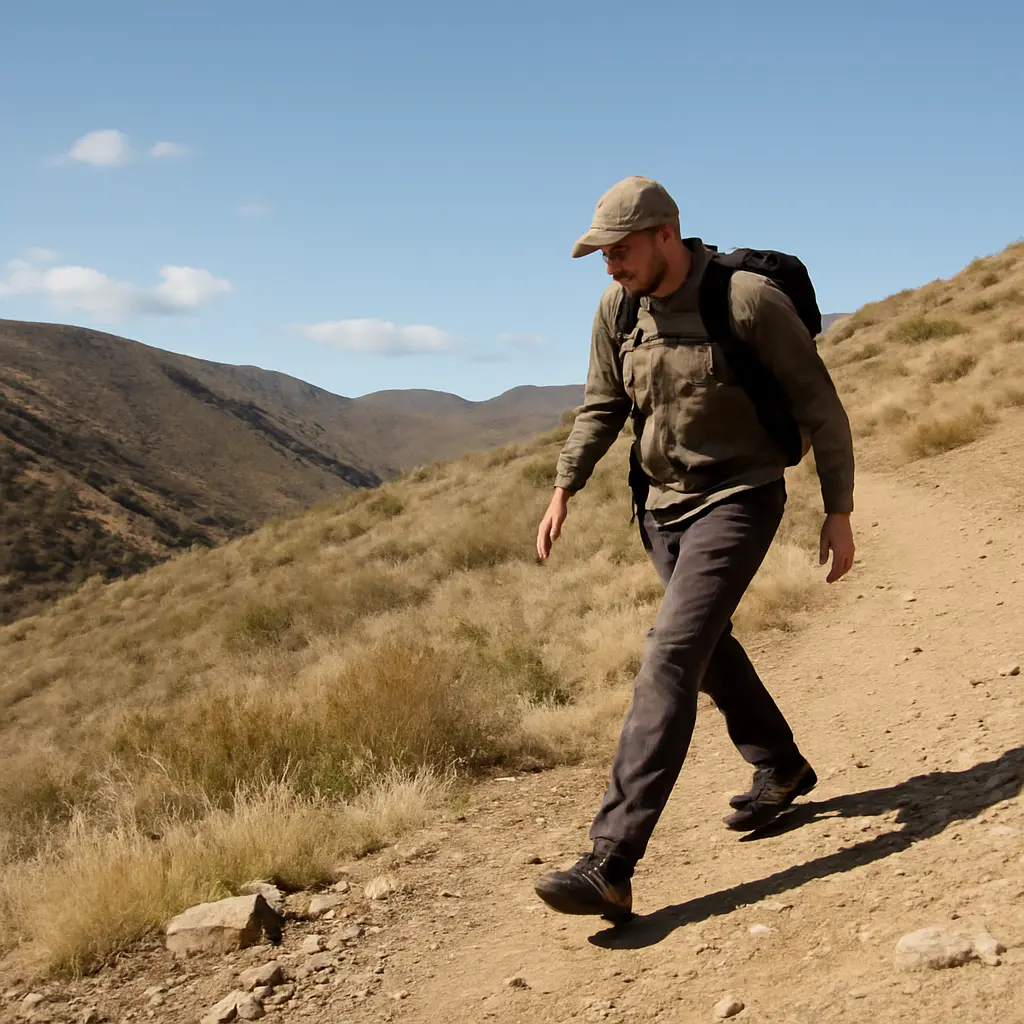
Steep-terrain footwork is the deliberate adjustment of stride, posture, and foot placement for climbing and descending slopes. On steep ground, use shorter steps, keep your weight balanced over your feet, and place each foot securely before transferring weight; uphill, lean slightly from the ankles, while downhill, bend your knees and avoid braking with long, stiff strides. These tactics reflect established hiking guidance on balance and fall prevention, and matter because falls and slips are leading causes of hiking injuries. The sections below explain the mechanics, uphill and downhill techniques, surface-specific adjustments, and ways to practice safely.
Steep-terrain footwork: balance, traction, and controlled steps
Steep-terrain footwork is a set of movement choices that help hikers maintain balance and traction while moving up or down an incline. The American Hiking Society advises hikers to keep a steady pace, watch the trail, and use deliberate steps; the National Park Service likewise emphasizes staying balanced and adjusting movement to trail conditions. In practical terms, that means taking shorter steps, placing the sole securely, and shifting weight only after the foot is stable.
There is no single step pattern that fits every slope. Grade, loose material, wetness, fatigue, footwear, and pack weight all change how much traction and control are available. A useful rule is to move slowly enough that each step can be corrected before the next one commits your weight. This is especially important on descents, where gravity can accelerate the body and make a slip harder to stop.
Short steps and stable contact
A short step limits the distance your body travels before the next point of contact. On an ascent, it can reduce calf strain and help maintain traction; on a descent, it reduces the tendency to overstride and land with a stiff leg. Aim to place the foot on a stable patch rather than reaching for the farthest possible foothold. Where the ground is uneven, allow the ankle and knee to adjust naturally instead of forcing every step to land flat.
Posture, center of mass, and balance
Your center of mass is the point around which your body’s weight is balanced. Keeping it controlled over your feet makes it easier to recover from small slips. On an uphill, incline your body slightly from the ankles while keeping your trunk relatively aligned; bending sharply at the waist can make breathing and balance less comfortable. On a descent, bend the knees, keep your body relaxed, and avoid leaning far backward, which can encourage heel-first braking and loss of control.
Uphill footwork: conserve traction and energy
Uphill footwork is the combination of compact steps, steady pacing, and controlled forward movement used to gain elevation without exhausting the legs or slipping. Instead of trying to power up the slope with long strides, choose a sustainable rhythm and plant the foot before pushing off. On very steep or loose ground, a slight zigzag may make the route less direct but reduce the effective steepness of each step—only use an established trail or route, since cutting switchbacks damages vegetation and can create erosion.
Use a sustainable stride and pace
Shorten your stride as the grade increases. Push through the planted foot without bouncing upward, and pause briefly when needed rather than letting fatigue turn careful steps into rushed ones. If you are gasping, losing coordination, or repeatedly sliding backward, slow down or stop in a safe place. A pace that allows you to look ahead and choose footholds is more useful than a pace that leaves no attention for the terrain.
Choose footholds before committing
Scan a short distance ahead and identify a sequence of stable placements. On rock, seek broad, secure surfaces; on dirt, avoid loose marbles or crumbling edges; on roots, be cautious when they are wet. Test uncertain ground with light pressure before transferring your full weight. Hiking poles can add extra contact points and reduce the load felt by the legs, but they do not replace sound foot placement and may be awkward where hands are needed for scrambling.
Downhill footwork: control momentum rather than braking
Downhill footwork is the use of short, controlled steps and flexed joints to manage gravity while preserving traction. Descending can be deceptively demanding: the quadriceps work to control the lowering of the body, and fatigue can impair coordination. The Centers for Disease Control and Prevention notes that falls are a major source of injury in the United States; while that broad statistic is not specific to hiking, it underscores why balance and fall prevention matter in outdoor travel. On trail, the immediate goal is to avoid sudden, uncontrolled movement.
Keep the knees soft and avoid overstriding
A soft knee helps absorb impact and keeps the leg ready to respond to irregular ground. Take smaller steps than you might on level terrain, and avoid reaching far downhill with a locked knee. Do not lean dramatically backward to resist the slope; instead, keep your posture balanced and let your feet move beneath you. If the surface is especially steep or loose, turn slightly across the fall line when the trail permits, placing each foot carefully rather than sliding straight down.
Use poles as optional support
Trekking poles can provide additional points of contact, help with balance, and make it easier to regulate pace on a descent. Set the poles so they can be planted without reaching so far that your posture becomes unstable. Plant them where they will not roll, break, or snag, and do not rely on them to arrest a major fall. On exposed terrain, follow local safety guidance; keeping hands free may be more important than pole support.
Footwork by surface: adapt to grip and ground conditions
Surface-specific footwork means changing step size, foot angle, and speed according to the material underfoot. The same slope can be manageable when dry and treacherous when wet, icy, or covered in loose debris. The U.S. National Park Service advises visitors to prepare for changing conditions and choose footwear appropriate to the activity; footwear with suitable tread can help, but no boot eliminates the risk of slipping.
Loose dirt, gravel, and scree
Loose surfaces shift under pressure, so keep steps short and avoid forceful push-offs that can dislodge material. Place the whole foot where possible and test the surface before committing. On a descent, do not assume that a sliding step is a controlled technique: loose rock can accelerate unexpectedly and may knock other hikers below you. Leave space between hikers so that one person’s displaced stones do not endanger the next.
Wet rock, mud, roots, and snow
Wet rock and roots can have very low friction, while mud may conceal holes or slippery stones. Move slowly, use stable handholds only when they are secure, and avoid stepping on narrow wet surfaces when a broader alternative exists. Snow and ice require specialized traction equipment and experience; ordinary hiking boots may not provide sufficient grip. If conditions exceed your equipment or skill, turn around rather than improvising on exposed ground.
Practice and safety: build skill before the steepest trail
Footwork improves through deliberate practice on low-risk terrain. Start on a gentle slope, focus on quiet and accurate placements, then gradually increase the grade and complexity. The National Park Service’s hiking safety guidance recommends planning for the route and conditions, carrying essential supplies, and recognizing when to change plans. These principles matter because technique cannot compensate for inadequate preparation, severe weather, or a route beyond your ability.
A simple progression drill
- Choose a short, clear slope with firm ground and a safe turnaround point.
- Walk uphill using compact steps, looking ahead to select stable footholds.
- Descend the same slope with soft knees and controlled, shorter steps.
- Repeat at a comfortable pace, then stop if your balance or coordination worsens.
Know when to stop or turn back
Turn back or seek a safer route if the ground is icy, unstable, exposed, or beyond your confidence; if visibility deteriorates; or if fatigue makes precise steps difficult. Check weather and trail conditions before leaving, carry water and appropriate layers, and tell someone your plans. For a visual guide, a simple comparison chart could show how step length, knee flexion, and pole use change across uphill, downhill, loose-ground, and wet-ground conditions.
Conclusion: make every step deliberate
Steep-terrain footwork depends on balance, secure contact, and pace. Uphill, shorten your stride and move steadily; downhill, keep your knees soft and control momentum rather than braking with long steps. On loose, wet, or icy surfaces, adapt your placement and recognize when conditions call for a different route or a turnaround. Before your next hike, practice these adjustments on a safe slope, check current trail conditions, and choose a route that matches your experience.
Sources: American Hiking Society, Hiking Safety, https://americanhiking.org/resources/hiking-safety/; Centers for Disease Control and Prevention, Facts About Falls, https://www.cdc.gov/falls/about/index.html; National Park Service, Hiking Safety, https://www.nps.gov/articles/hiking-safety.htm; National Park Service, Leave No Trace: Stay on the Trail, https://www.nps.gov/articles/leave-no-trace-seven-principles.htm


